Connecting your own system — keys and channels
Screen: Settings → API, address /settings?tab=api. Everything a program needs in order
to work with your account instead of a person: the keys, the channels that are allowed, and
the address to which Blackbox Business reports back.
The request formats live in the API section of this documentation, and the screen carries a link to it in its own header.
The keys
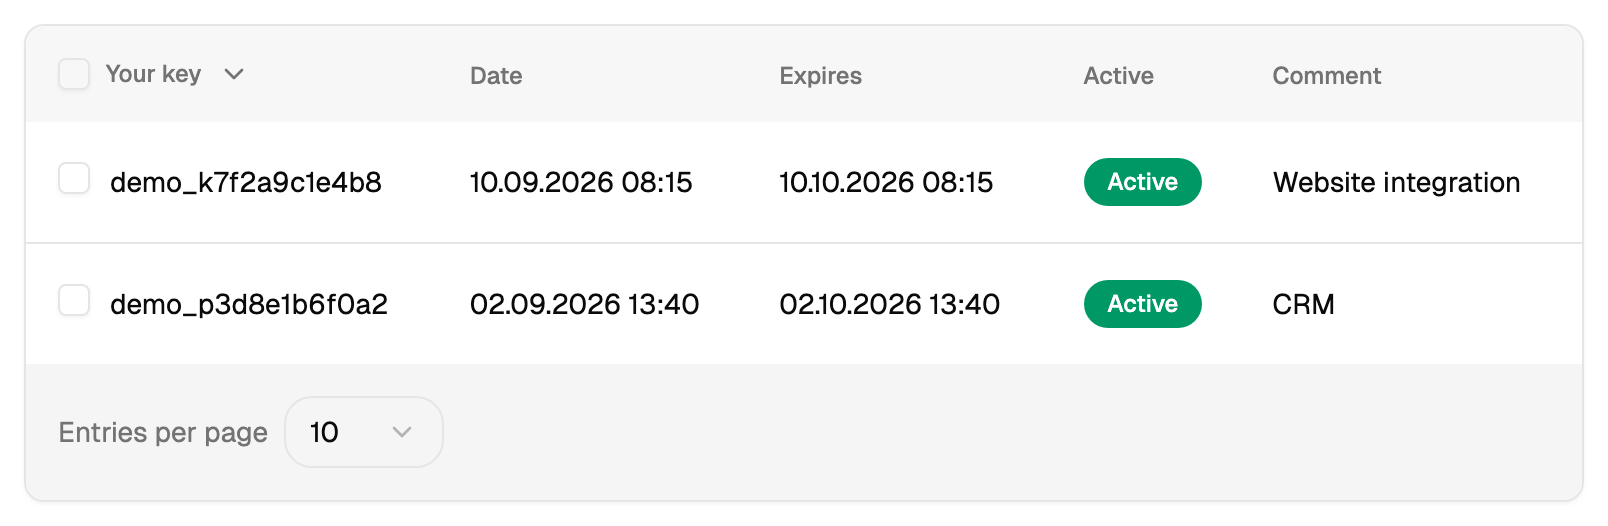
| Column | What it says |
|---|---|
| Key | The key itself |
| Created | When it was issued |
| Expires | When it stops working; a date already past is shown in red |
| Active | On or off — a switch you set yourself |
| Comment | Your own note; the key you are working through right now is marked with a tick |
| Type | What the key is for; a key issued automatically is deleted rather than edited |
| Restriction | A tick when the key is limited by address |
Creating a key
The button opens a panel with three things: a comment, a list of allowed addresses and an active switch.
The comment is the only thing that will later tell one key from another — write down what system it is for, not "key 2".
The address list accepts single addresses and whole subnets, separated by commas, in the form the field itself shows as a hint. A key with a list set works from those addresses only, and that is the cheapest protection there is against a leaked key.
When the key is created the panel shows its whole text and a copy button. While it is on screen the panel deliberately stays put on Escape and on a click outside — only the button closes it.
Copy the key while it is there and keep it where you keep your other secrets. If it is lost, delete the key and create a new one in its place.
Editing an existing key changes the comment, the address list and the active switch.
Switching a key off versus deleting it
Switching off leaves the key in the table and stops it working. It can be switched back on, and the history of what it did stays readable in the access log.
Deleting removes it. Several keys can be selected with the checkboxes and deleted at once; the cabinet asks for confirmation and lists what is about to go.
If you suspect a key has leaked, switch it off first — that stops the bleeding in one click — and delete it after the system that used it has been moved to a new key.
The channels
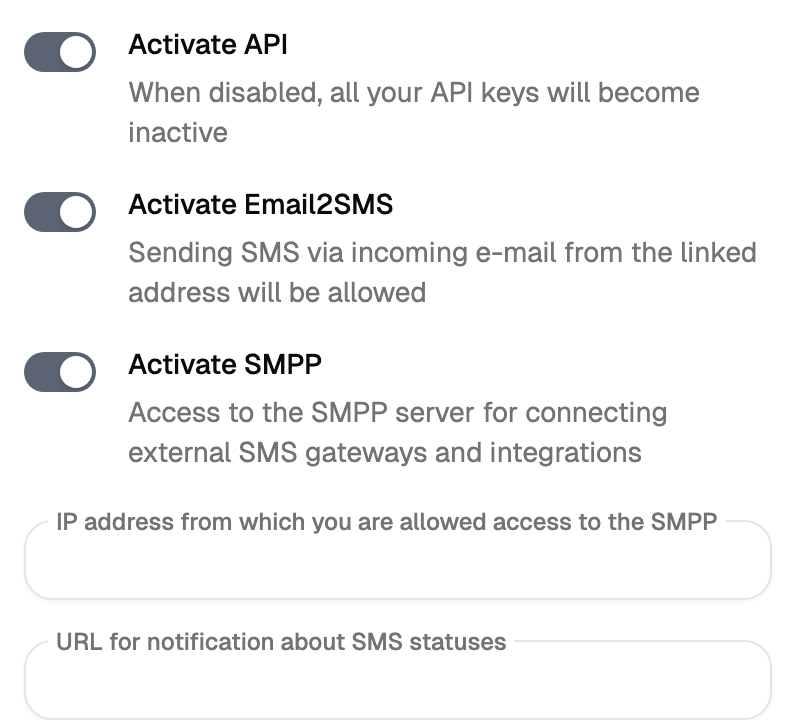
Below the keys there is a block of switches and two fields, saved by one button.
| Switch | What it opens |
|---|---|
| API | Requests over HTTP; keep it on and your key works |
| SMPP | A permanent connection over the operators' own protocol |
The two fields belong to different things and are easy to confuse:
| Field | What it is for |
|---|---|
| IP address | The address your SMPP connection comes from; fill it in and the connection is accepted |
| Notification URL | Where Blackbox Business reports what happened to your messages |
The notification URL is the place in the cabinet where the webhook is set up. If you are looking for that setting anywhere else, it is here. What is sent to that address, and in what format, is described in the API section — this screen decides where it goes.
The sandbox at the bottom
Two blocks, JSON and XML. Each shows the address the request goes to, a prefilled example you can edit, and a button that sends it. The answer appears next to the request.
It goes to Blackbox Business under your own account, and the answer is the real answer. A request that sends a message is a send: the message goes out and the money leaves the balance, exactly as if your program had made the same call.
Try it on your own number first.
Limits, prices and the set of available options are tuned to your account. This documentation gives the meaning rather than the figure: the current value is always shown on the screen, next to the field it applies to.